Adding resources and dependencies for our Products API
Introduction#
The user should create a REST API for GET, GET/{id}, POST, and DELETE/{id}. The user should know how to create APIs from Section 2a. The user should also know how to provision an SQL connection into their integration. All of these components should be familiar but the integration should show a general progression of complexity but also showcase a very realistic example of what the platform is capable of. This should also showcase the ease of use and how simple Jetic is to use.
VisionsCorp’s request#
VisionsCorp (VC) needs to migrate its Database operations to Jetic. They are using an RDS SQL database and they need an easy way to make requests to their database so that they can retrieve and manipulate data promptly. Thankfully, Jetic is capable of just that. With the Jetic platform, VC can create its APIs to perform any function and communicate with its DB.
- GET, POST, DELETE methods
- SQL (created in the last lesson)
- SET BODY
- Unmarshal
- Log
- TO JSON (Marshal → JSON)
Goals:#
- Build a more complex integration
- Use a Jetlet
- Marshal into JSON
- Add, delete, and retrieve products from a database
Step 1: Create the APIs#
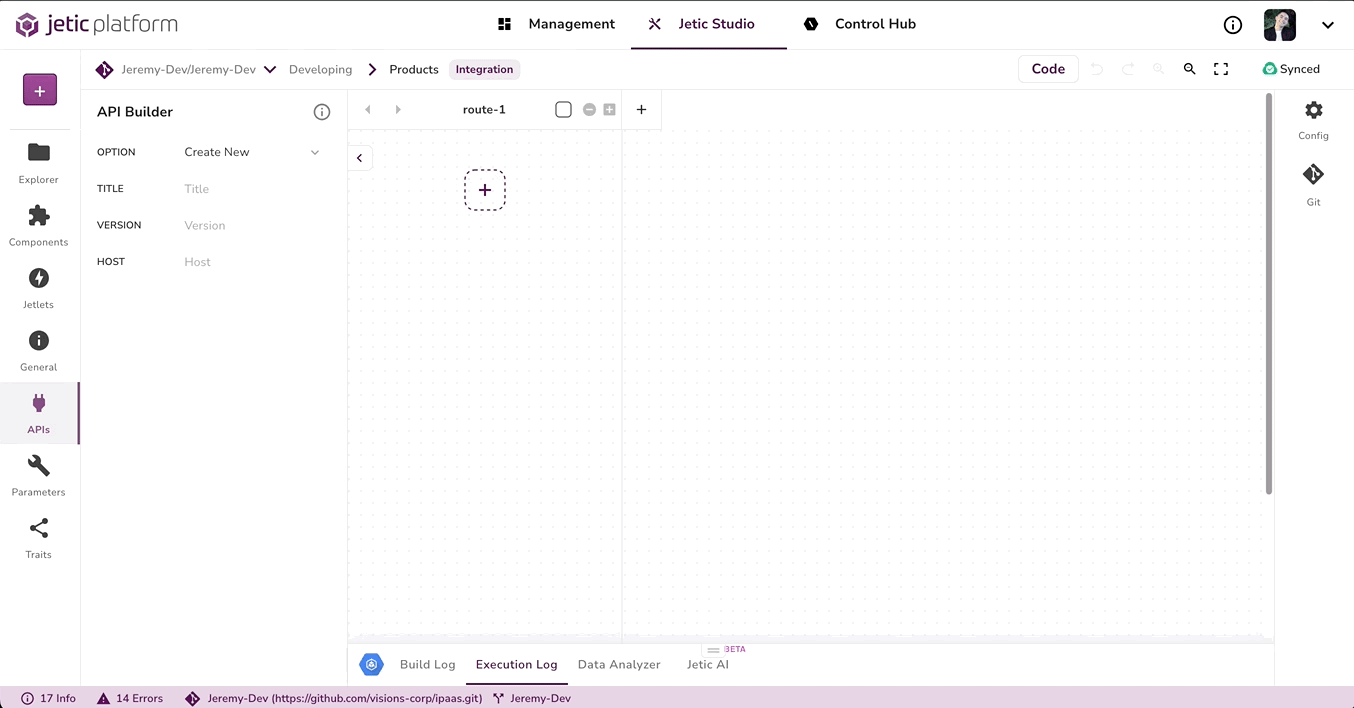
- Click on the APIs 🔌 in the left sidebar
- Click on the ‘Create New’ next to OPTION and then click on the ✏️ ‘Create New’
- Give it a Name, (for this Demo we will be calling it Products)
- Give the API a Version of 1.0
- For the Host use logistics.devdemo.jetic.io
Step 2: Configuring the endpoints#
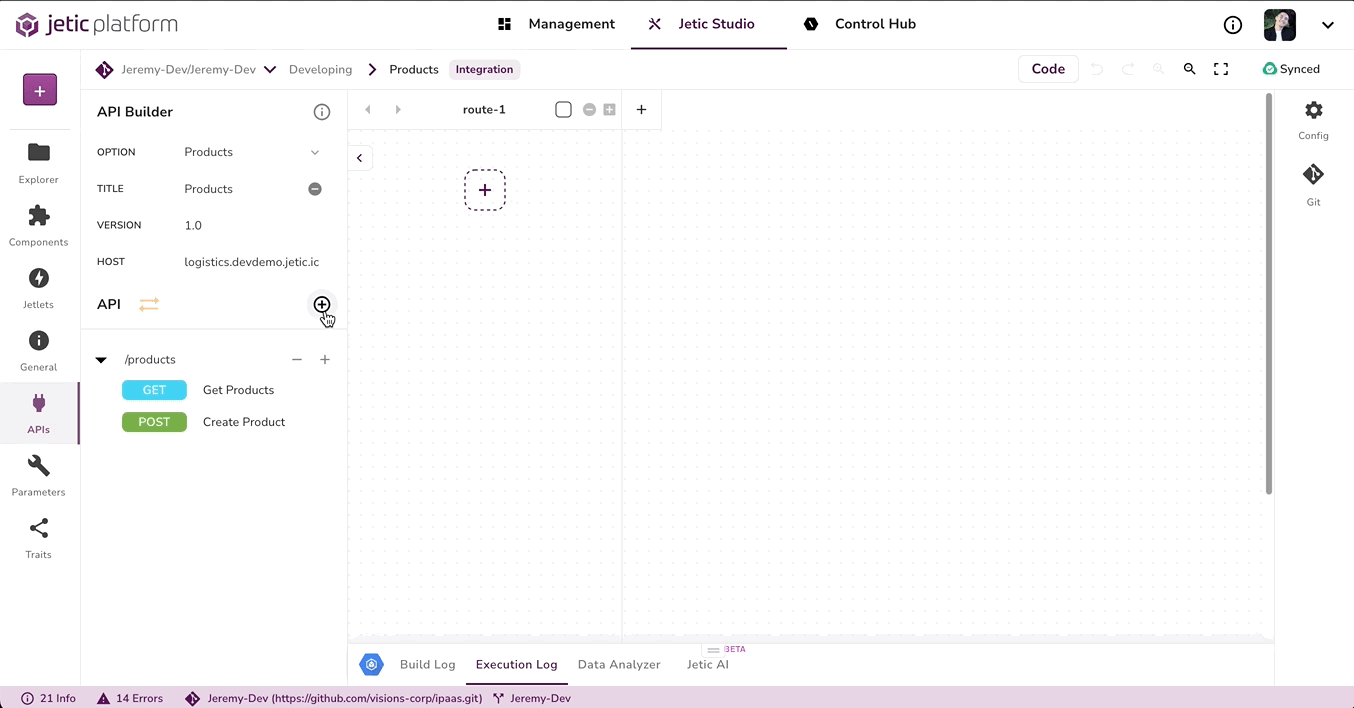
- Click on the (+) next to the API with the arrows to add an endpoint
- In the empty field add /products
- Click on the + to Add Operation
- A Create Operation modal will pop up. For the name, add GetProducts
- For the Method, create it as a GET method
- For this demo, we will leave Consumes and Produces as it is, namely, application/json
- Drag the GET products to route 1’s swing lane
- Repeat the steps and make a CreateProduct (Post) also using /products
- Click on the + to Add Operation
- In the empty field add /products/{id}
- Make a GetProduct (GET, not plural) as well as DeleteProduct(DELETE)
Step 3: Provision a Database Resource#
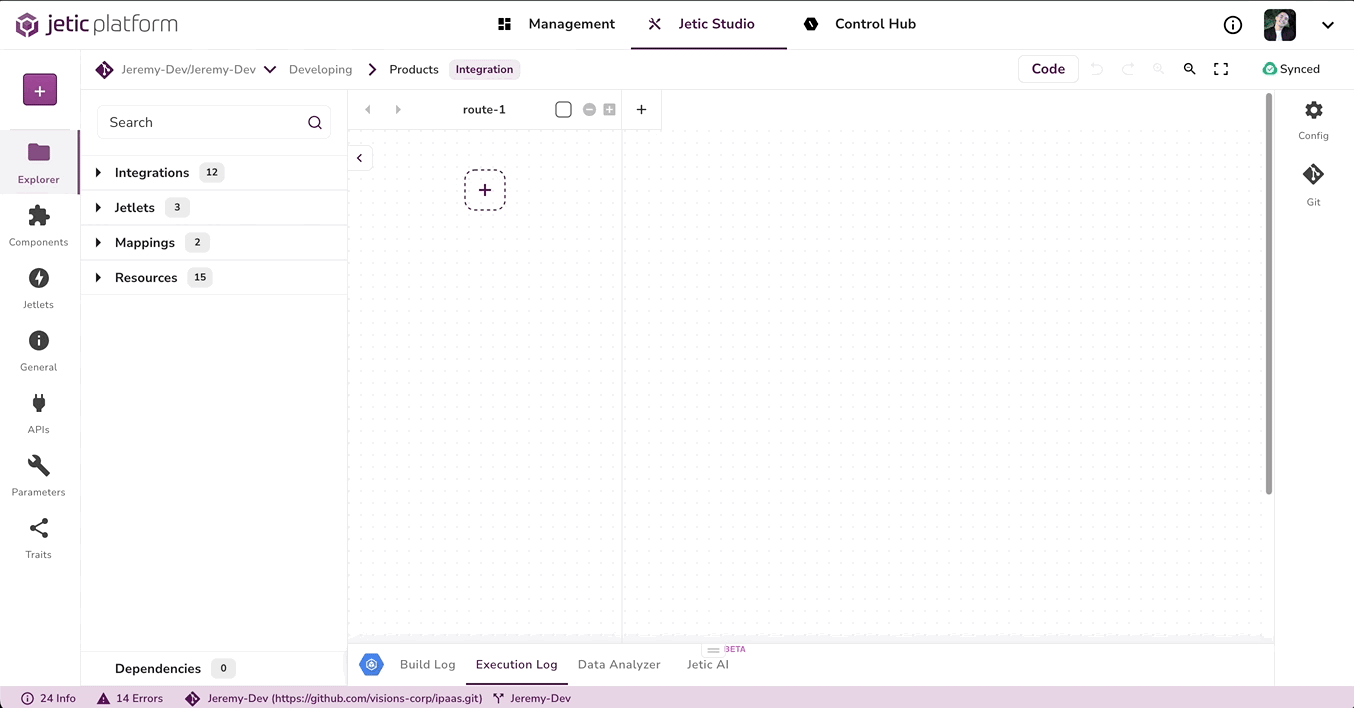
- In the left sidebar Click on Explorer
- Click on Resources → Database Resources → and the (+) ‘Create New Resource’
- For the Name put LogisticsDemo, you can add anything for the Description
- After that, a modal will appear fill it out as follows:
- Type → Simple
- Driver Class → MySQL
- Driver Class Name → com.mysql.cj.jdbc.Driver
- URL → {your DB URL}
- Username → {Any}
- Password→ {your DB password}
- Maven → com.mysql:mysql-connector-j:8.2.0
- Bean Name → logistics
- Make sure LogisticsDemo is added as a dependency
🎉 Congratulations you have successfully connected your DB in Jetic and created the APIs that you will be using in this integration. In the next lesson we will continue this integration by setting up our requests with out DB🎉